To change the the default appearance of the Product recommendation and the product builder rows, please follow the these steps:
- In your NEW campaign editor, drag either a product row or a product recommendation row to your template. Once the row is dragged successfully, select the row and click on the save icon.
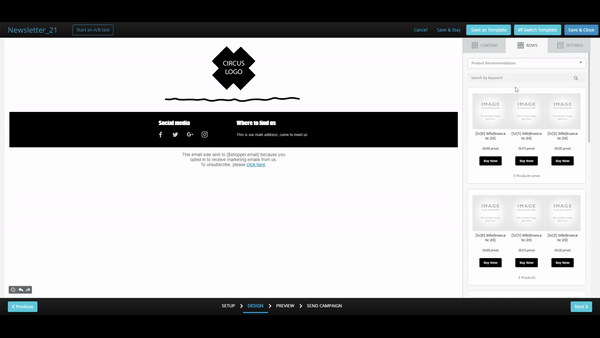
- Once clicked on the save icon, a pop-up window will appear asking you to name the row - Ignore it.
On the bottom of the popup, you will find the text "This row was created from a "product row" template. If you wish to edit the row template itself, please click here." Click on the "Click here".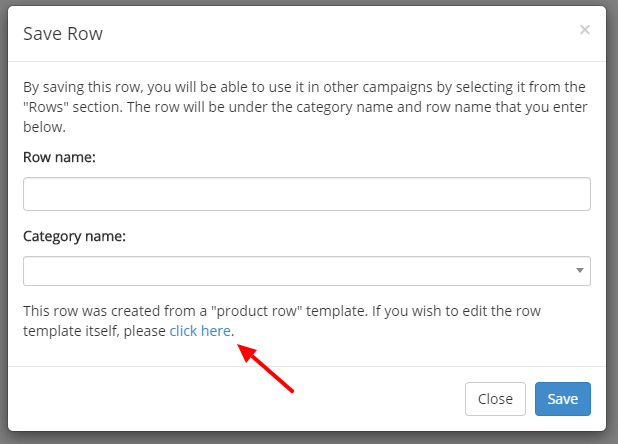
- A new tab will automatically open in your browser.
In the new tab, drag-and-drop the row from the "Rows" section on the right of the editor, edit the row, and click "Save".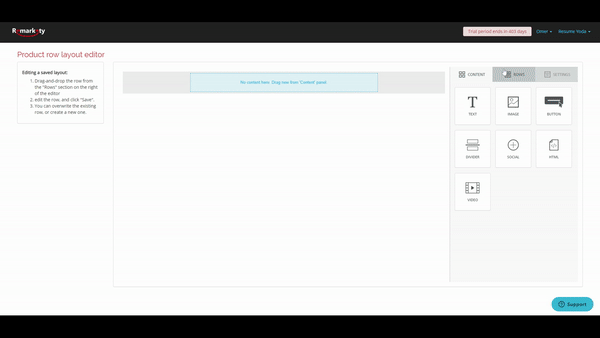
- Return to the original campaign editor tab.
Now, you are able to create a new product row. You will notice that the changes you made on the Product row layout editor will be displayed.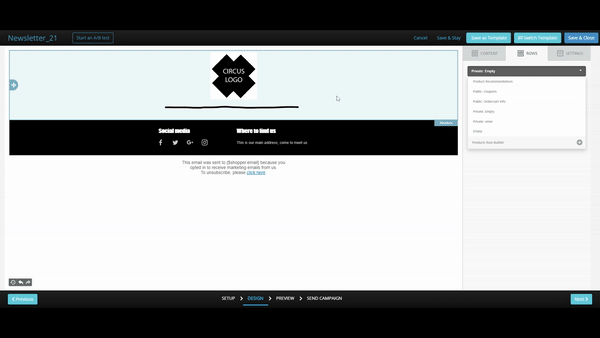
And that's it! Moving forward, every time you will create a product row, your design will be the default appearance of the product row.
For any questions concerning Remarkety's new template editor, contact suppoer@remarkety.com
Comments
0 comments