Unsubscribe requirement
By law, contacts must always be able to unsubscribe from receiving marketing emails. Because of this, every Remarkety email is required to include the option to unsubscribe by using the {$unsubscribeUrl} dynamic tag. 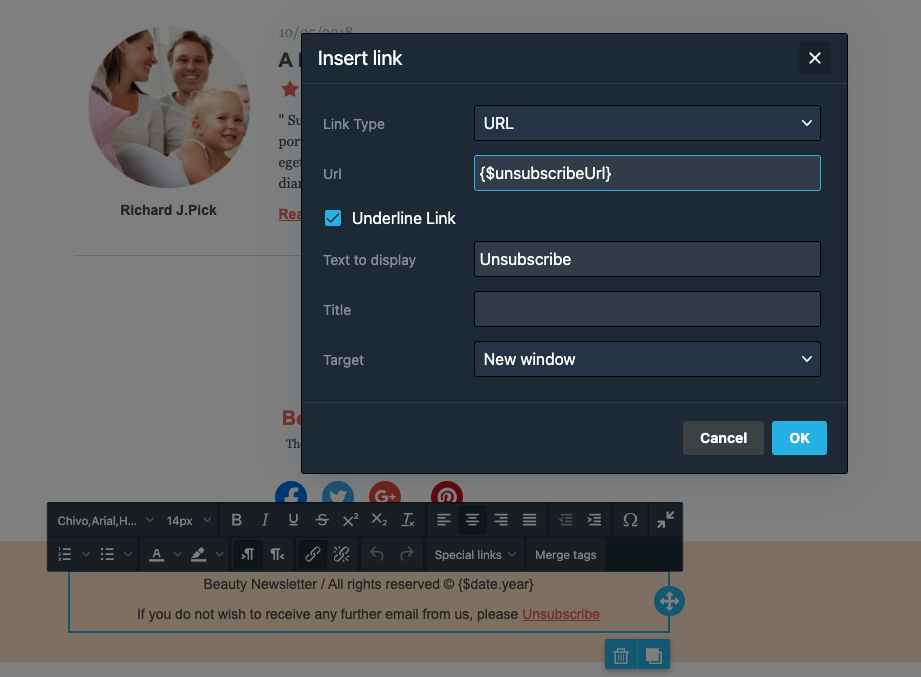
Form setup
By default, once clicked, the {$unsubscribeUrl} tag brings contacts to the following page: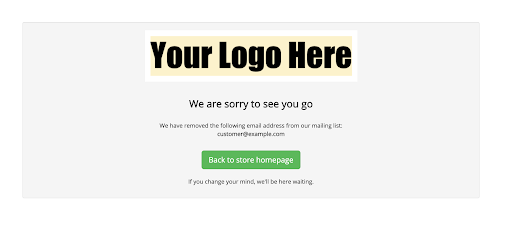
This page can be customized inside your dashboard by going to Contacts > Embedded HTML form > Unsubscribe.
Redirect URL
In the case that you would like to send unsubscribing users to a different page to unsubscribe, we offer a setting to redirect to any external URL.
On the same page Contacts > Embedded HTML form > Unsubscribe, scroll to the bottom to find the field to input the new URL:
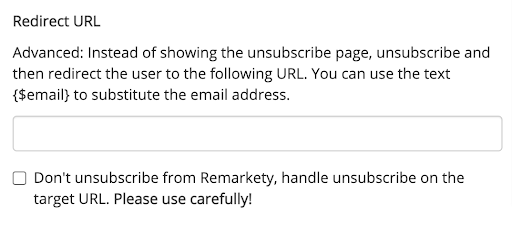
Inside the text field, input the URL that you want your shoppers to be redirected to. **Remember that inside your emails, you should still use the {$unsubscribeUrl} tag and not the desired redirect URL.
If you want the unsubscribes to be directly managed on the target URL, check the box below the URL field. This means that users clicking the “Unsubscribe” link in their emails will not unsubscribed from Remarkety before being redirected to your own page, and thus your application must be responsible to update Remarkety when the customer unsubscribes.
This option should only be used with caution, and only if you really know what you are doing.
Testing
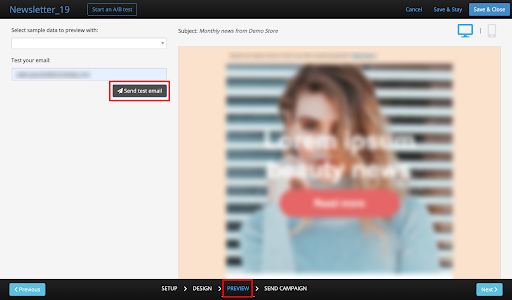
For your testing purposes, it’s important to note that inside any test email sent from the campaign editor’s PREVIEW slide, the unsubscribe URL will not work.
To protect your store’s marketing list from automated link checkers that might cause unintended unsubscribes, we have a built-in feature that requires a 5 minute wait-time for unsubscribes after receiving the email.
If you’re testing and noticing problems within 5 minutes of receiving the email, note this may be the problem.
With any questions, reach out to us at support@remarkety.com and we’ll be happy to help.
Comments
0 comments